


Well, a woman I know who has a talent for inspiring me to do stuff *you know who you are* said... why don't you just make those into skirts? Fantastic IDEA! I can do that... right??? Sure... well, that was last Summer and we're now rapidly approaching skirt weather again so I finally got to it! At first I thought it would be a breeze and then I thought I had bitten off more than I could chew, but ultimately I had a BLAST and can't wait to do this AGAIN, but for me! ;)

Where was I... ahhhh yes, old Christmas Party Frock

check~
check~
snip away top, preserving notions and fabric for future use

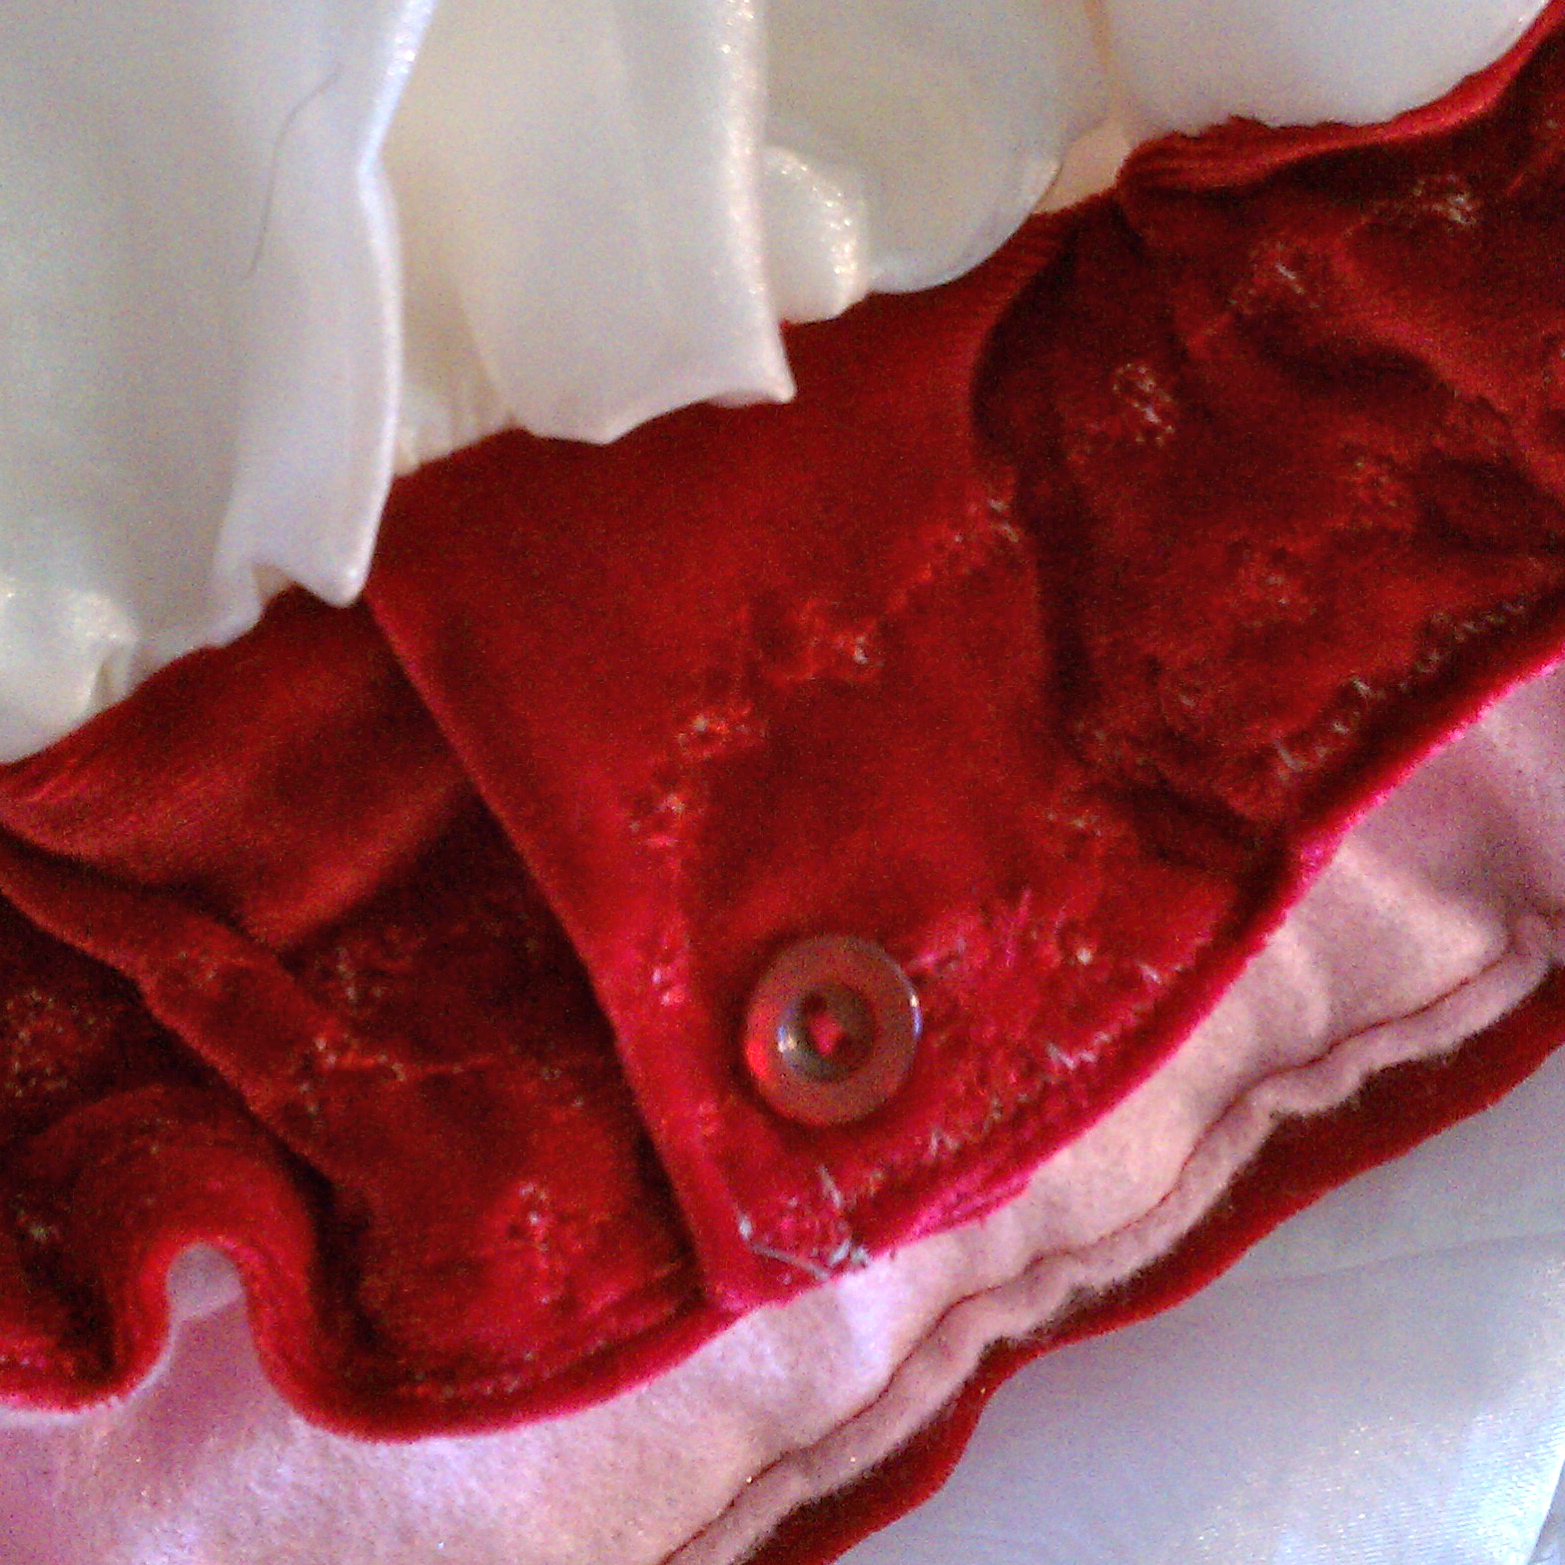
My original plan was to use the button to fasten the skirt onto the child, but that didn't work... I still kept the button because it was cute, but this is something to consider... do you have a zipper to deal with? How does your child feel about elastic waistbands? I decided to avoid the zipper for my first project and did end up going with the elastic (thanks mom!) If you do that make sure you measure an extra inch of elastic to allow for overlap in stitching and so that it won't be too tight.
We also opted to save the sash for a bow.


I continued embellishing with our other little cute critters AND Little Red Ridinghood...


 |
| The whole thing came out darn cute... If I do say so myself |
Truth be told... I loved this project mostly because Little Red Pink Riding hood and I got to hang out and make something cool together... she's got fantastic ideas, a quick whit and a ton of charm and a sizable dose of silly! Love that girl!
So... the moral of the story is... just play... have fun and if your kid wants to stick crazy stuff on their clothes, go for it! AND if your Mom says use the elastic... use the elastic!
A big thank you to Natalie for getting me inspired to play with my clothing, putting the Mori Girl fashion craze on my radar and for being brave enough to go into the forest on your own... its a big world out there! ;)
 |
| Little Red Riding hood, a cameo and a rusty key |
 |
| Tip toe through the tulips - or narcissus... |
 |
| Mom, I have a blackberry thorn in my finger... get Daddy. |
 |
| Tea time |
 |
| Don't forget Mister Fox, Mommy... he's my favorite! |
A big thank you to Natalie for getting me inspired to play with my clothing, putting the Mori Girl fashion craze on my radar and for being brave enough to go into the forest on your own... its a big world out there! ;)
Now, go get your CrAfT ON!!!
xoxo
jul
Love your tutorial and your model is a beautiful Mori Girl. And your photography is perfection...girl, I think you found your calling!! Can't wait to see the Julee H. Mori Girl clothing collection...I'll be your first customer! xoxo
ReplyDeleteSO CUTE!!!
ReplyDeleteLove it and as always love your approach. Talent and Oomph! put together.
I LOVE this!!! You are so amazingly talented. This is a darling project.
ReplyDeletewhen can I get one for big girls? This is sooo fun and the pictures show the magic. Great job taking something old and reusing it and making it fresh!
ReplyDeletereally cute!! Love the "Little Red Riding hood, a cameo and a rusty key" pic!!!
ReplyDeletewow!
ReplyDeletethanks you guys... i went out today and bought one skirt and two dresses all grown up size to alter and play with... various colors, too... one is tans and neutrals, one is black and one is red... i'm pulling together notions and making some iron ons so that i can start embellishing them this weekend! so much fun!
thanks, ali! i love that picture, too... that may find its way onto a tote bag!
all in the name of crafty love!
xoxo
jul
See, sewing can be fun. I love the skirt it is so cute! Thank goodness you have always colored outside the box.
ReplyDeleteLove ya, Mom