Ok... if you have a kiddo like I have a kiddo then you have a few outgrown party dresses that were worn once and then relegated to the back of the closet... we have more than a few, I must confess... my Mom *LOVES* to buy her granddaughter darling dresses and we just don't get around to wearing them all that often... but they are SOOOO CUTE! and made with such lovely fabrics and notions how could I just let them hang there?
Well, a woman I know who has a talent for inspiring me to do stuff *you know who you are* said... why don't you just make those into skirts? Fantastic IDEA! I can do that... right??? Sure... well, that was last Summer and we're now rapidly approaching skirt weather again so I finally got to it! At first I thought it would be a breeze and then I thought I had bitten off more than I could chew, but ultimately I had a BLAST and can't wait to do this AGAIN, but for me! ;)
Here's how I got started... first... sign up for a Mori Girl workshop and get completely entranced by the Mori fashion craze that is ALL over Japan... Mori is Japanese for Forest... what's not to love? Fairy Fantasy meets fun and creative... pretty much has my name written all over it... oh wait, this was a project for Alexia... hmmmm
Where was I... ahhhh yes, old Christmas Party Frock
Make sure the area that you are going to use as the waist still fits your sunshiney daydream girl... in my case I'm pretty sure that Alexia has only grown taller in the last two and a half years so we're good in that way, but also make sure that the skirt will still be a length that she'll like...
check~
check~
snip away top, preserving notions and fabric for future use
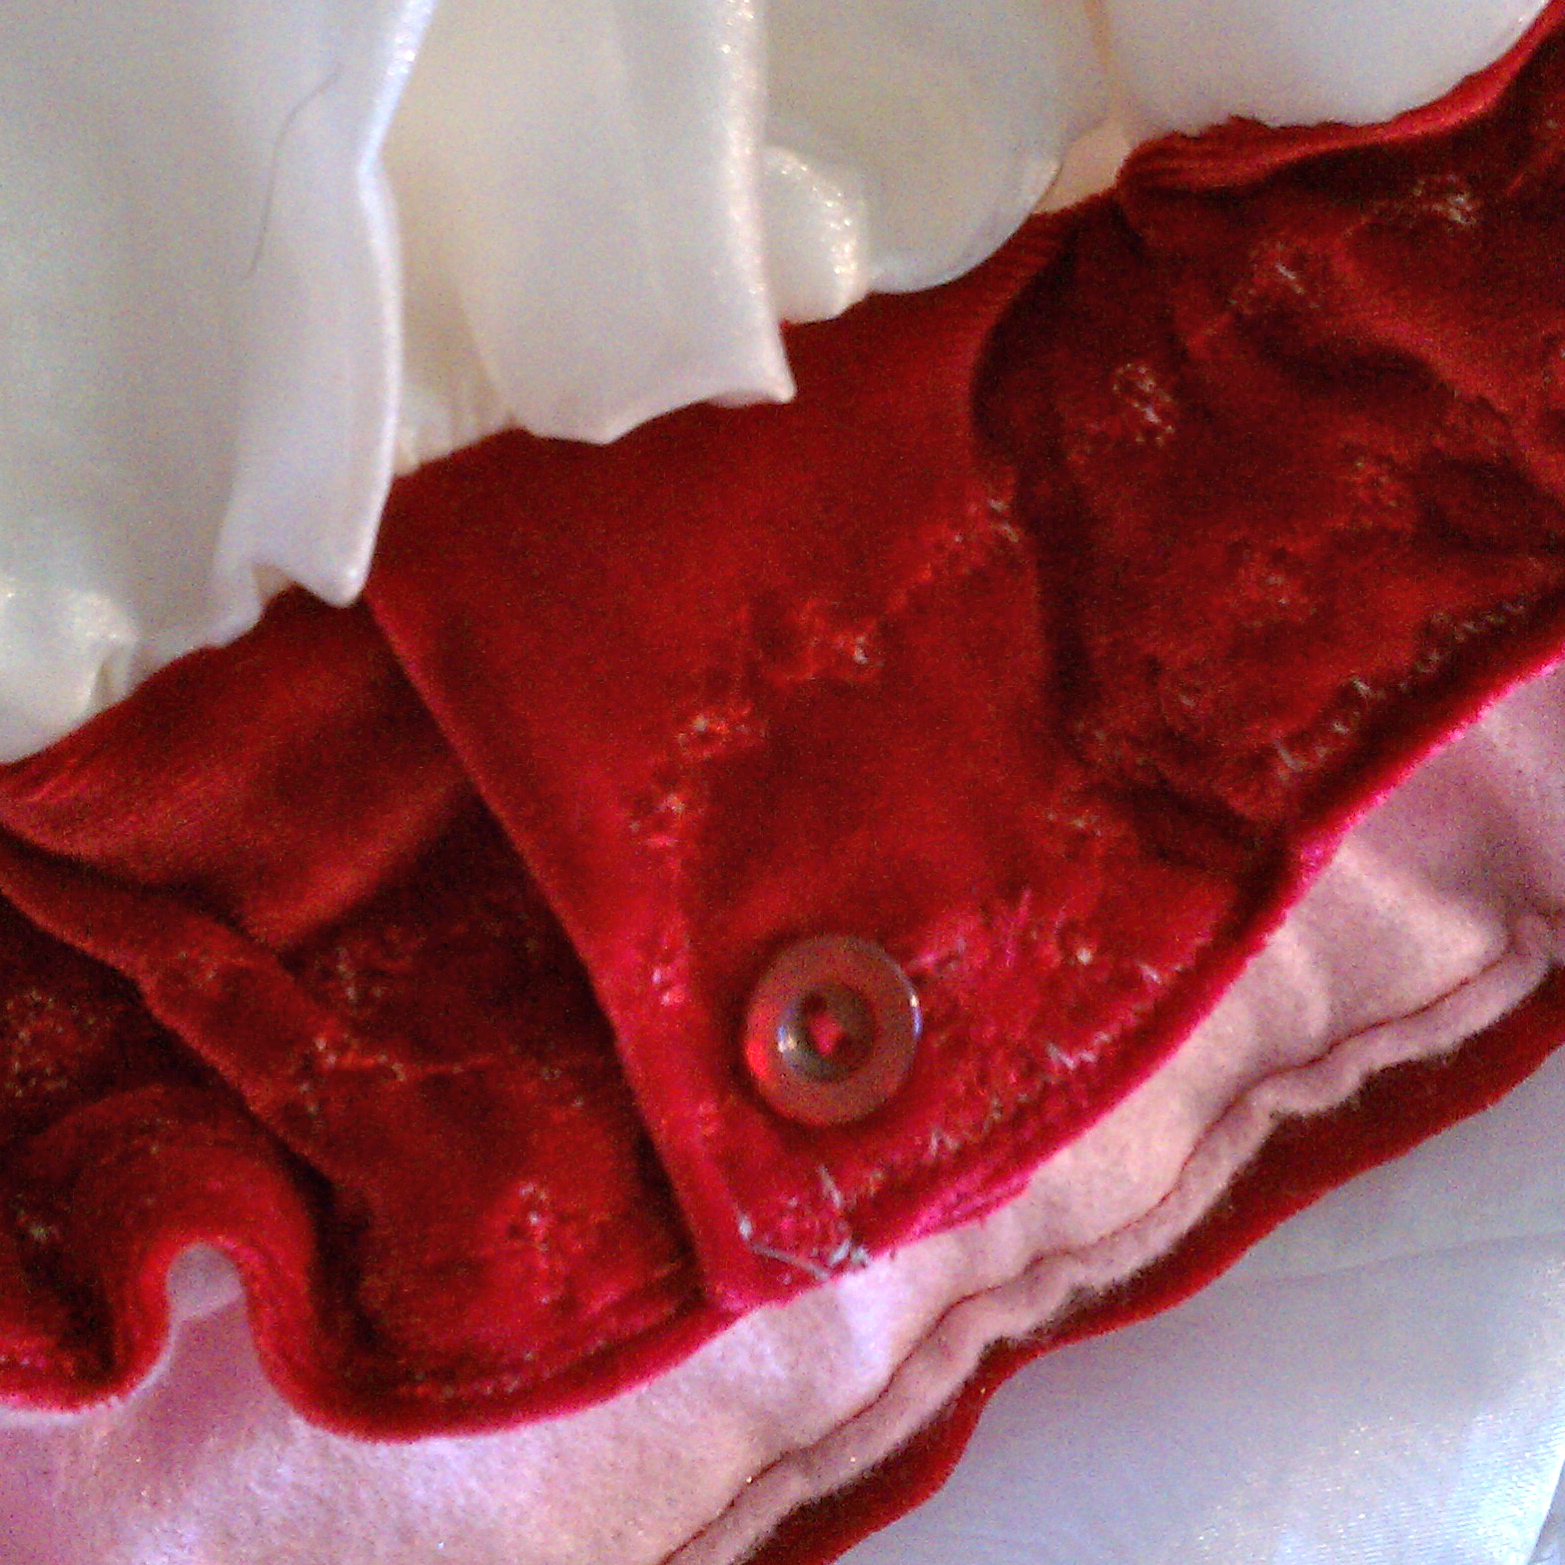
My original plan was to use the button to fasten the skirt onto the child, but that didn't work... I still kept the button because it was cute, but this is something to consider... do you have a zipper to deal with? How does your child feel about elastic waistbands? I decided to avoid the zipper for my first project and did end up going with the elastic (thanks mom!) If you do that make sure you measure an extra inch of elastic to allow for overlap in stitching and so that it won't be too tight.
We also opted to save the sash for a bow.
Roll the top down and pin and fit it to your child... this is when we knew the button wasn't going to work and allowed us to add a sleeve for elastic (see, this is where I was like... uhhh... yeah... MOM! but I persevered!) I also knew that I liked the way it looked to have a higher waist and that I would use some of the lovely decorative stitches my machine offers to embellish that area.
This is what the backside of the waist looks like finished. I used a soft pink felt to encase the elastic and it gives the piece a finished look. Now... with all of the technical challenges met I got to play...
I ironed some Mori Girl inspired illustrations from my friend Natalie Neumann onto some unbleached muslin and stitched them onto the underskirt... patchwork style... this deer is on the back of the skirt and I stitched a button that I made with the excess fabric in place to hold the over skirt up a bit to reveal our little forest friend....
I continued embellishing with our other little cute critters AND Little Red Ridinghood...
here's mister bunny all stitched on
mister fox auditioning embellishments
and miss doe showing a little layered embellishing... keep going with it until you've run out of supplies or you're pretty sure the skirt will fall off if you add one more thing! :)
 |
The whole thing came out darn cute... If I do say so myself
|